
How to Turn Your Shopify Store Into a Mobile App (Without Hiring a Developer)
A step-by-step guide to turn your Shopify store into a mobile app with no code, no developer, and a realistic path to launch in days.
By DzineYourApp Team6 min read
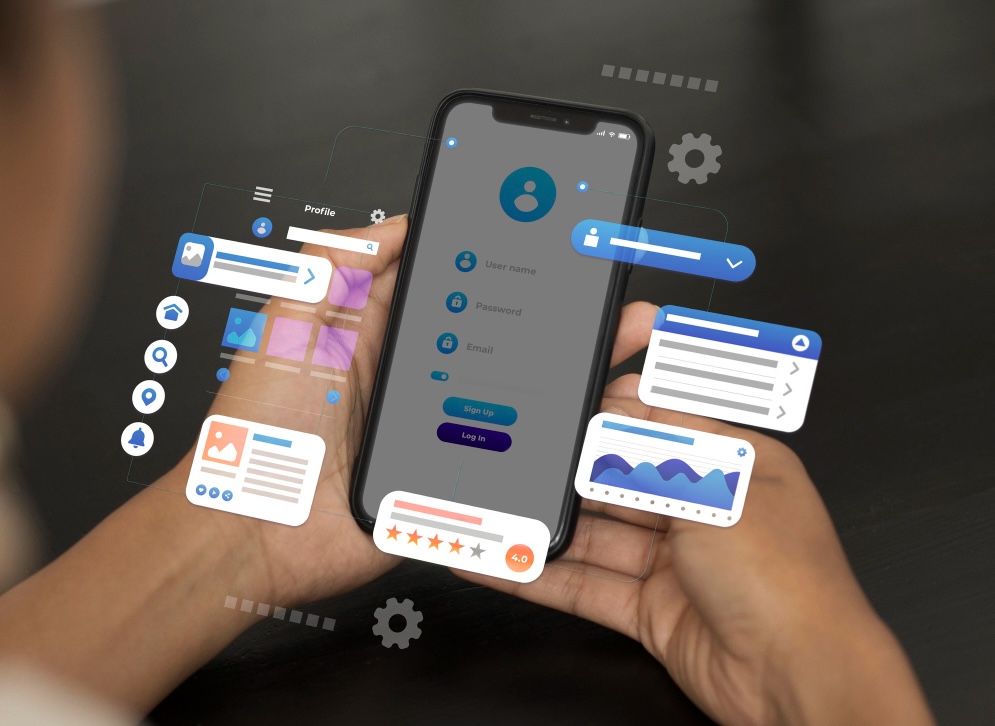
A few years ago, the answer to "how do I turn my Shopify store into a mobile app" started with a quote from an agency: $30,000 and six months. That answer is out of date. You can now turn your Shopify store into a mobile app yourself, with no code and no developer, and have it in review at the App Store within a week.
This guide walks the whole path, from deciding whether you even need an app to hitting submit. No fluff, no buzzwords, just the steps in order.
Do you actually need a mobile app?
Be honest here before you spend time. A native app pays off when you have repeat customers and mobile traffic worth re-engaging. If most of your sessions are on phones and a chunk of your buyers come back, an app gives you a home-screen icon, saved logins, and push notifications, which a mobile website can't match.
A quick gut check: if you're doing somewhere between $50K and $5M a year and repeat purchases matter to you, an app is no longer a luxury. If you're pre-revenue or sell a one-time product nobody rebuys, hold off and fix conversion on the web first.
An app is retention infrastructure. It pays back through people who come back.
What "no-code" actually means
When people say you can turn your Shopify store into a mobile app without code, here's what that means in practice. You won't open Xcode or Android Studio. You won't write Swift or Kotlin. You won't manage certificates by hand.
Instead, you connect your store, arrange pre-built blocks in a visual editor, set your branding, and publish. The builder generates real native iOS and Android apps and handles the submission plumbing. Your catalog, customers, and orders stay in Shopify, where they already live. You can see the full set of capabilities on the features page.
Step 1: Connect your Shopify store
The first step is a one-time authenticated connection. You log into Shopify, approve the integration scopes, and your catalog, inventory, pricing, and customer data start flowing into the builder.
Nothing moves out of Shopify. The app reads from and writes to your store through secure APIs and webhooks, so Shopify stays your single source of truth. This is the part people fear and it's genuinely a few clicks.
Step 2: Pick a starting layout
You've got two paths. Start from a template that mirrors a proven store structure, or start blank and build mobile-first. For a first app, a template saves hours. You can rebuild later once you see how customers actually move through it.
Map your best-performing web collection to the app home screen. The products that sell on your site usually sell in the app too, so lead with them.
Step 3: Customize with your branding
Now make it yours. Drop in your logo, set your fonts and colors, and add hero creative that matches your site. The goal is that a customer who knows your brand on the web feels at home in the app immediately.
Keep the first version focused. A clean home screen, clear collections, and a fast path to product and cart beats a cluttered app stuffed with every feature on day one. You can always add later.
Step 4: Map the shopper journey
This is the step most people rush, and it's the one that decides whether the app converts. Walk the path a customer takes: home, then collection, then product, then cart, then checkout. Make sure nothing dead-ends.
Every screen should have an obvious next step. If a customer lands on a product, they should be one tap from adding it and one tap from checking out. Friction here is where revenue leaks, exactly the way it does on a slow mobile website.
Step 5: Set up push notifications
Push is the reason the app earns its place on the home screen. At minimum, turn on two automations before launch:
- Abandoned cart. Someone adds to cart, leaves, and gets a timely nudge on their lock screen. This recovers sales email often misses.
- Back-in-stock. Shoppers who wanted a sold-out item get told the moment it returns.
If you have a launch or a VIP segment coming, add a campaign for that too. Don't blast everyone with everything, segment, and respect frequency, or people mute you.
Step 6: Preview before you ship
Don't submit blind. Use TestFlight for iOS and internal testing for Android to put the app on real phones, yours and a few customers'. Tap through every flow. Buy something. Trigger a push.
You're looking for dead-ends, broken images, and anything that feels slow. Fixing it now is free. Fixing it after a one-star review costs a lot more.
Step 7: Submit to the App Store and Google Play
The final step used to be the scariest, and it's now mostly a checklist. You'll need a Google Play Developer account ($25, one time) and an Apple Developer account ($99/year). Those are paid to Google and Apple, not to your app builder.
From there, a good builder hands you the submission workflow: app icons, screenshots, privacy copy, and a test account for reviewers. Submit, wait for review, and you're live on both stores. The realistic timeline is days, not a quarter.
What it actually costs
The build itself no longer requires a five-figure agency. With a no-code platform you're looking at a monthly plan, and in our case a success fee on app orders only, so the cost tracks your results. The only fixed outside costs are the Apple and Google developer accounts above. Compare the full breakdown on the pricing page before you start.
Launch this week
Turning your Shopify store into a mobile app is no longer a project you schedule for next quarter. Connect your store, arrange your screens, set up push, test on a real phone, and submit. That's a focused week of work.
Start free, with no card and no code, and get your app moving today. If you'd like help mapping your first build, book a quick walkthrough and we'll point you at the fastest path for your store.